Suppose your App has 2 Different Environments- ‘Development’ & ‘Production’ ( sometimes it may be 3 or 4 according to our Project needs ) and these Different environments have Different codebase or may be Different URLs. And you need to randomly move between all these various server URLs for the testing purpose or maybe another purpose depends on your project needs.
Example: Suppose, you need to submit your app in App Store in ‘Production’ Environment, and currently, you select ‘Development’ environment Url And you forgot to change the Development URL into Production environment Url, And by mistake, you submit & Live your App in App Store. Therefore, it creates a Big Problem.
So, in order to store important Data like API Keys/Base URL and also needs to be secure, We use .xcconfig files and attach .plist file with them to fetch data.
.xcconfig Files are supplemental Files that help in configuring a specific build type. These files are edited outside the Xcode, too.
We are using 2 environments for now – Production and Development
Step 1- Open your Project.
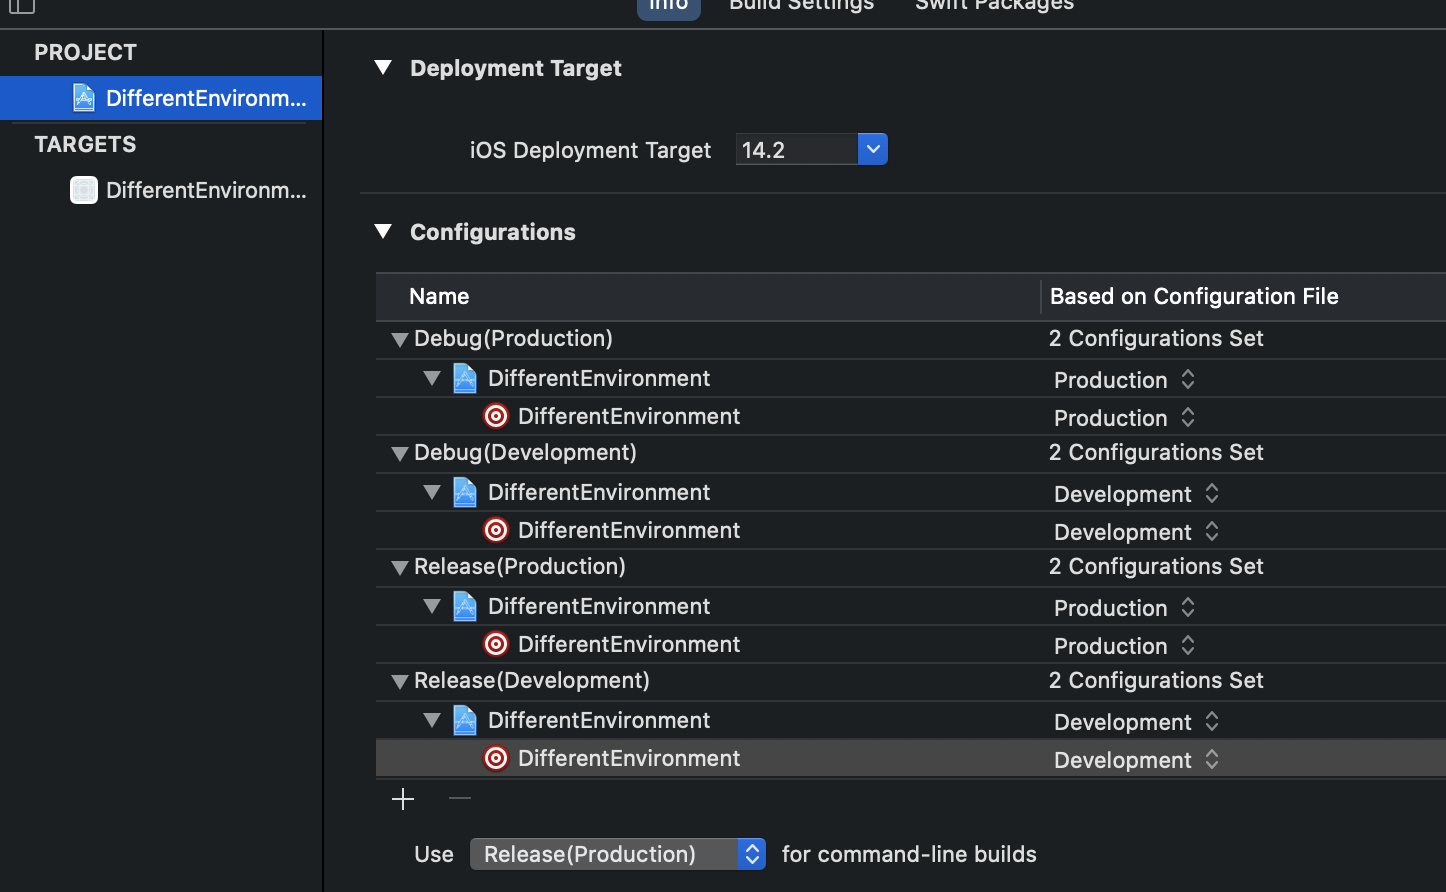
Step 2- Select the Project file( Top file ) in the navigator area, then select the Info tab and make sure your project is selected. Look at the configuration Section. Here, we already have Debug and Release configurations. So, for 2 environments, we have to build debug&release.
-First rename the present Debug and Release to Debug(Production) and Release(Production) and then pick the icon at the bottom of configuration Section and select Duplicate Debug(Production). And rename into Debug(Development).
-Repeat this process for Release(Production) and rename into Release(Development).
As shown in image-

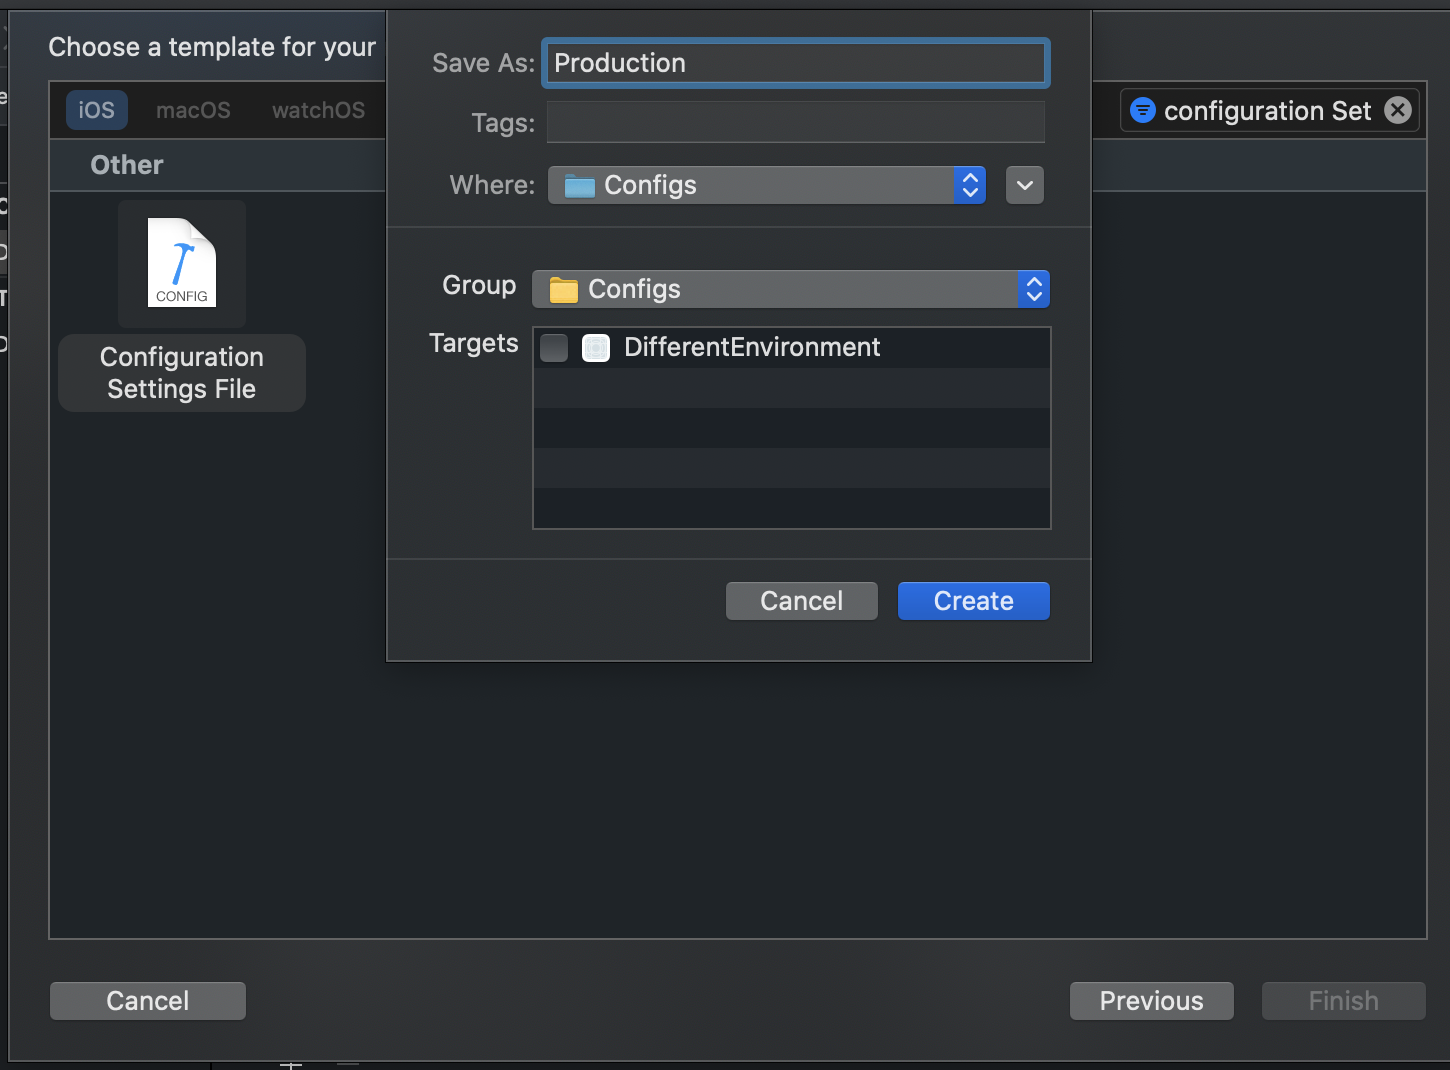
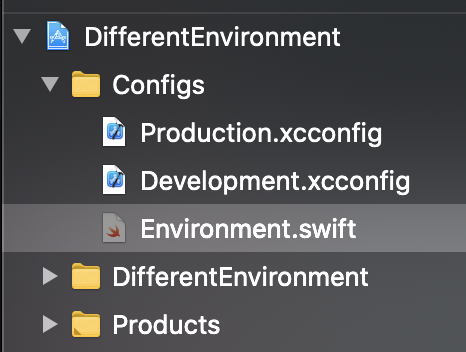
Step 3- Create a new folder “Configs” and create new .xcconfig files For development and production.

Then select Next and name the File Production and make sure that no target is selected because we do not add these files in the application bundle as they are not being compiled.
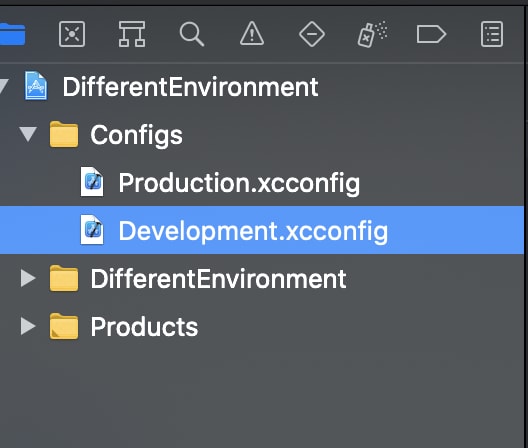
Now, Repeat the process for Development, after that it looks as below image:
Now, write the API keys and the Url’s that are used in your Project For Production( Data is Different Based on Project needs ) Environment. Then after that repeat the process for Development.
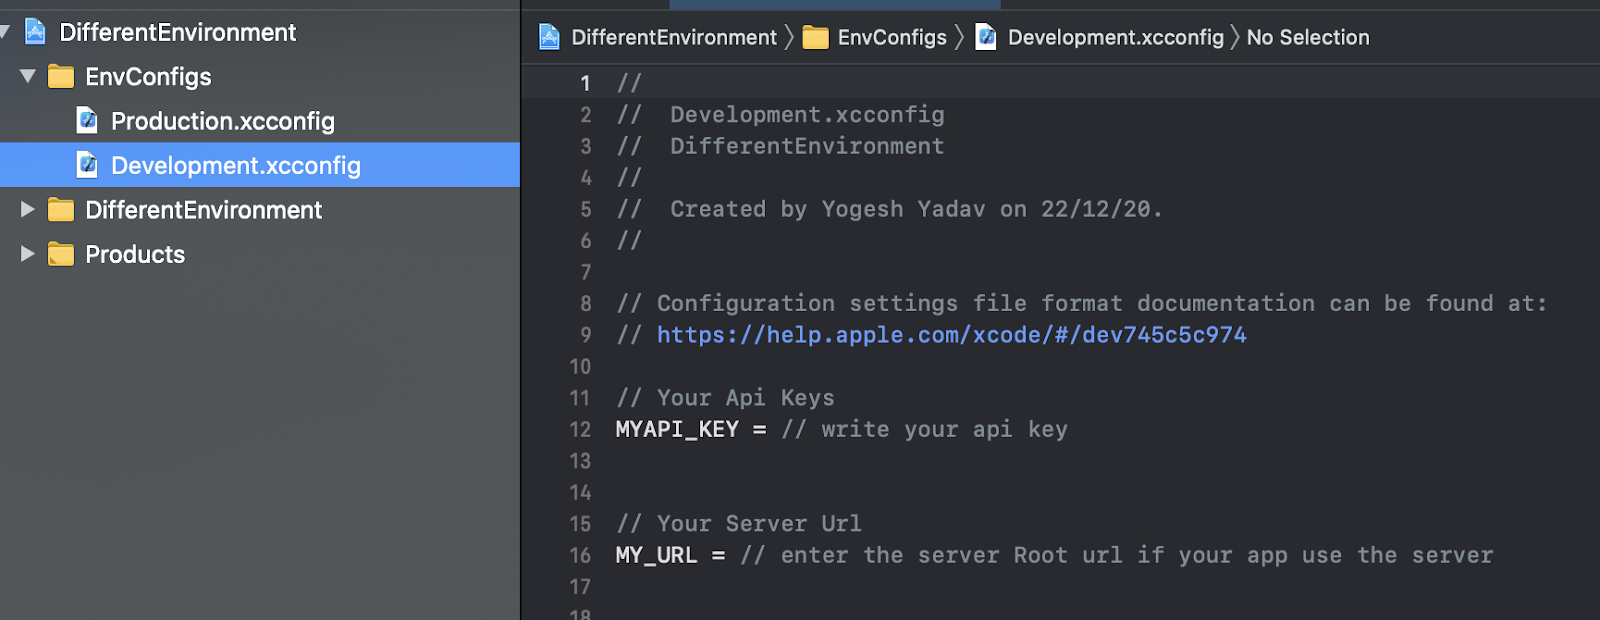
Note: Make sure that you enter space after and before in the equal sign( = ) And enter $() between Forwarding slashes because we need to split it with an empty variable substitution into .xcconfig files.
Example = MY_URL = https:/$()/………
Step 4- Now, we need to set the appropriate file for each configuration. So, move to the configuration section in the info tab and select the correct configuration files. As shown in below image-
Note: If you already use cocoa pods Then Delete the .xcworkspace file, podfile.lock and pods Directory ( make sure that you don’t delete the podfile ) Then reinstall the pods( The reason for this is Because cocoa pods have it’s own xcconfig files.)
In Terminal you see that cocoa pods did not set the configuration since we already set the custom configurations. It provides a link to be included in each.
Something like that ( see in below image ):

- Now, open the new .xcworkspace file and include the .xcconfig path for cocoa pods in your .xcconfig files by included #include “”
Example: #include “Pods/Target Support Files/Pods-DifferentEnvironment/Pods-DifferentEnvironment.release(Production).xcconfig”
Step 5- Our Xcode Project also comes with a Default scheme named after the project. But, we have 2 Different environments so, we create another new scheme.
-In Xcode toolbar move to the scheme selector then open the scheme popup menu and select manage schemes.
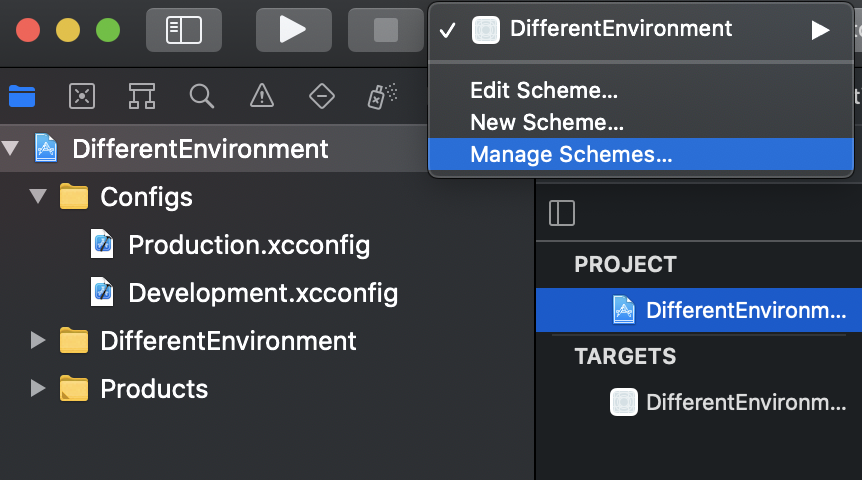
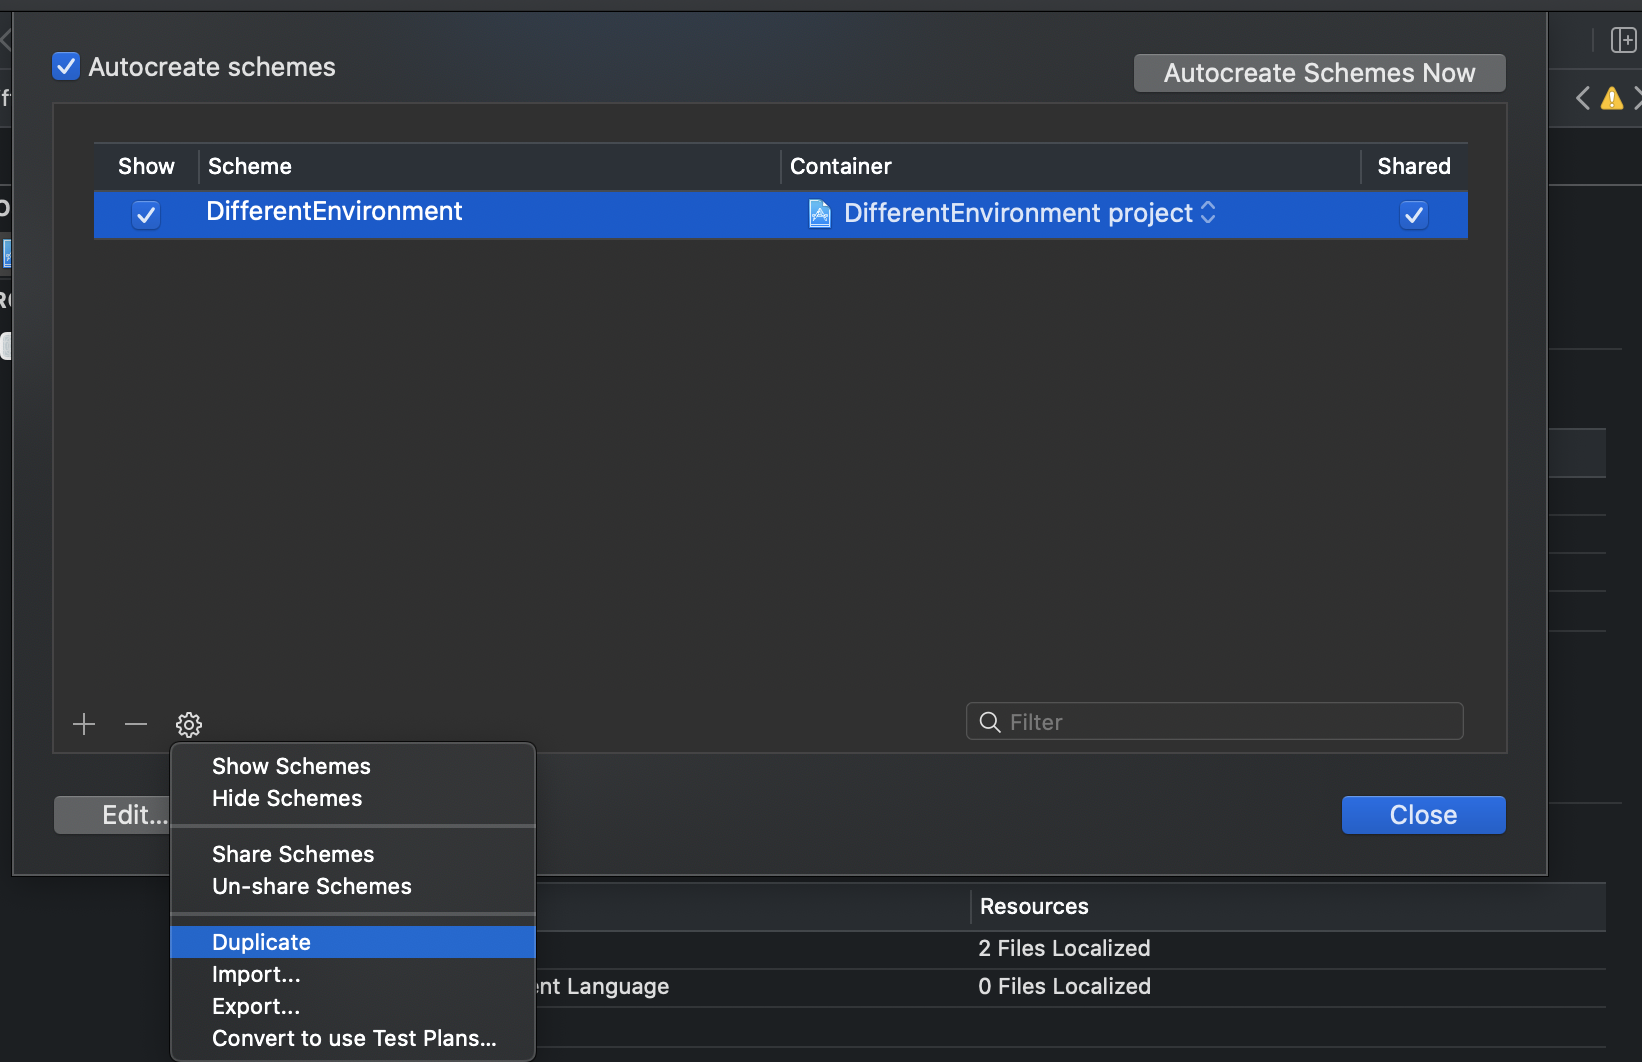
After clicking on manage schemes, we see that in our scheme manager we see the available schemes that are available in our project and whether they are shared or not.
-Now, click the current scheme and in the bottom click setting icons and select duplicate.
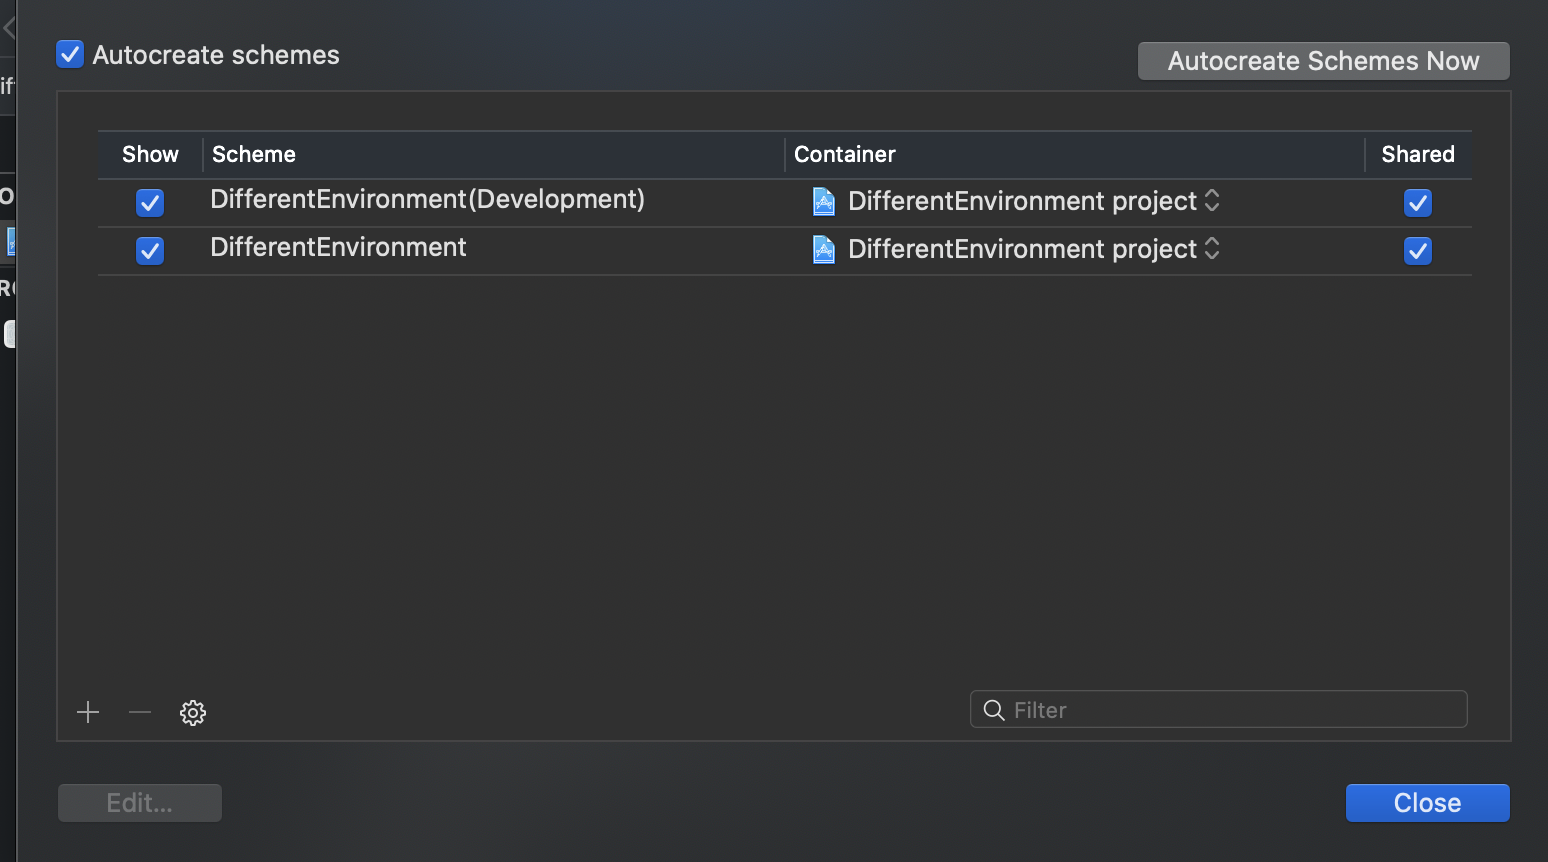
This new scheme will be Development. So, rename it according to need and make sure that the configurations for Development are set for each section like:

Now, make sure that our Default scheme uses the Production configurations(same as the previous step ) and make sure that all are marked as shared so that they are not strictly local to your own Xcode environment but also available project-wide if they are not checked by mistake then other openings this project can’t utilize this schemes, as shown in below image-
Step6- Now, edit the info.plist file in order to use our new configuration settings and also for accessing the configuration values from our code
-We use MY_URL and MYAPI_KEY in our configurations file and Xcode did not include them by default in Info.plist file. So, add 2 new entries in info.plist.

In order to access these values, the best approach is to create Environment.swift file, this file contains an enum with no cases to access the plist and the variables that are contained in your plist file.
Therefore, Create a new swift file in config folder which we have created earlier and add the following code-
import Foundation

public enum Environment {

  //  Write your keys that are used in your Project

  enum Keys {

    enum Plist {

      static let myURL = "MY_URL"

      static let myapiKey = "MYAPI_KEY"

    }

  }

  // Give access for Plist

  private static let infoDictionary: [String: Any] = {

    guard let dict = Bundle.main.infoDictionary else {

      fatalError(" Your Plist is not found")

    }

    return dict

  }()

  // MARK: - Write the Plist values

  static let myURL: URL = {

    guard let myURLstring = Environment.infoDictionary[Keys.Plist.myURL] as? String else {

      fatalError("MY URL is not set in the plist File")

    }

    guard let url = URL(string: myURLstring) else {

      fatalError("myURL is Invalid")

    }

    return url

  }()

  static let myapiKey: String = {

    guard let myapiKey = Environment.infoDictionary[Keys.Plist.myapiKey] as? String else {

      fatalError("myAPI Key is not set in plist")

    }

    return myapiKey

  }()

}
Note: Make sure that you run your Project in different Environment and no errors come.
-You can also print your keys in various environments in order to test them.
Like:
 print(Environment.myapiKey)

    print(Environment.myURL.absoluteString)