Automate Testing using TestObject
Manual Testing – Executing the test cases manually without any tool support is known as manual testing. Automation Testing – Taking tool support and executing the test cases by using automation tool is known as automation testing.
TestObject – Automation tool to test your native and web app with rich features of record and play, view log report, random input test and GPS allocation etc.
What you need:
Let’s get started!
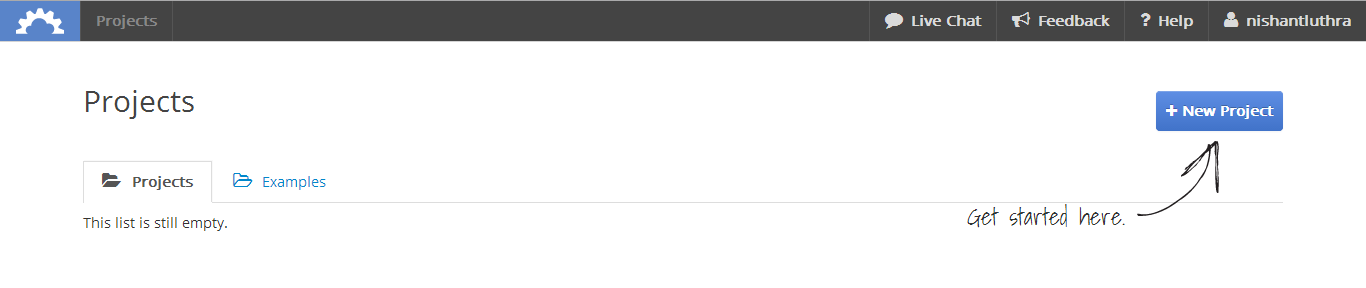
Step 1: Create a New Project After signing in to your TestObject account, click the New Project button to create your first project.
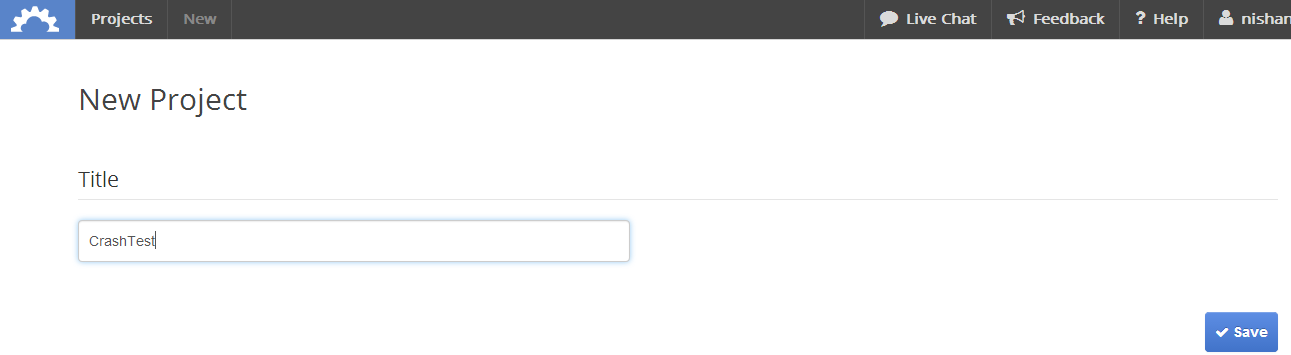
Name the project “Any Project Name” and click Save. Your newly created project will then be opened for you.
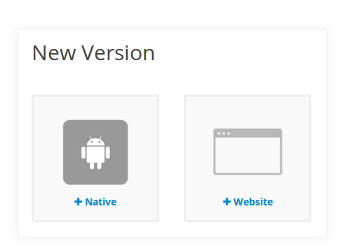
Your newly created project will then be opened for you.Choose whether you are going to test a native Android app or a web app (website). In this tutorial we will test a native app, so choose Native.
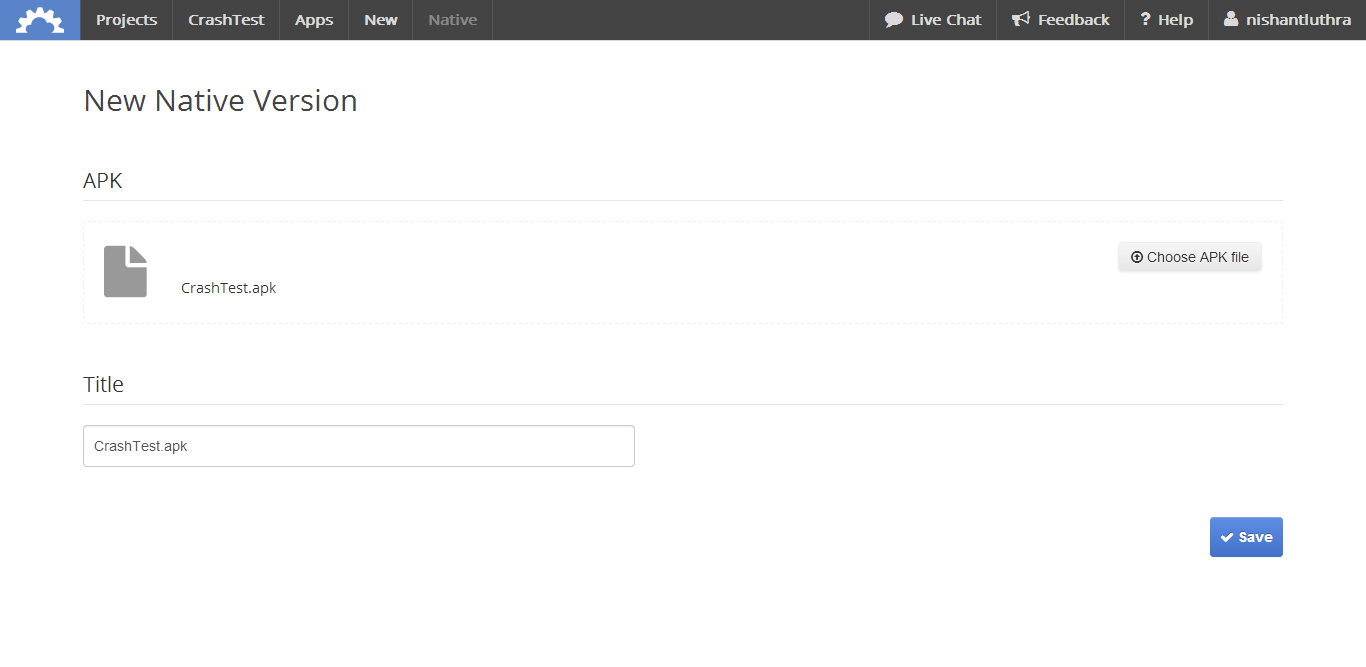
On the next screen, click Choose APK File and browse for the app file you want to upload to the system. In the tutorial we have choose CrashTest.apk .
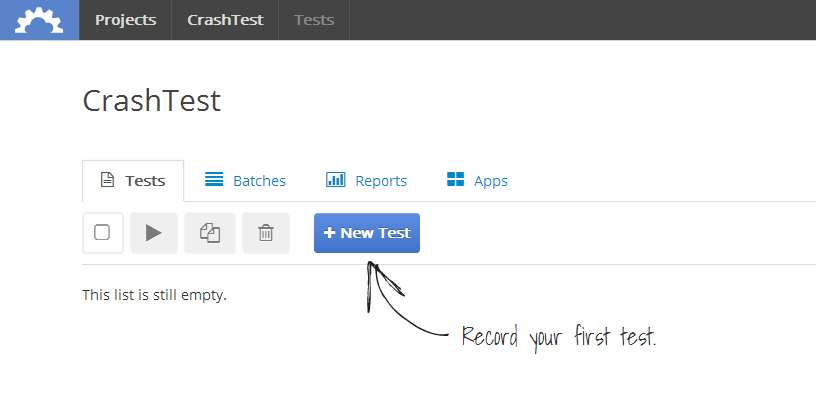
Tap on ‘New Test’ Button to Record your first test
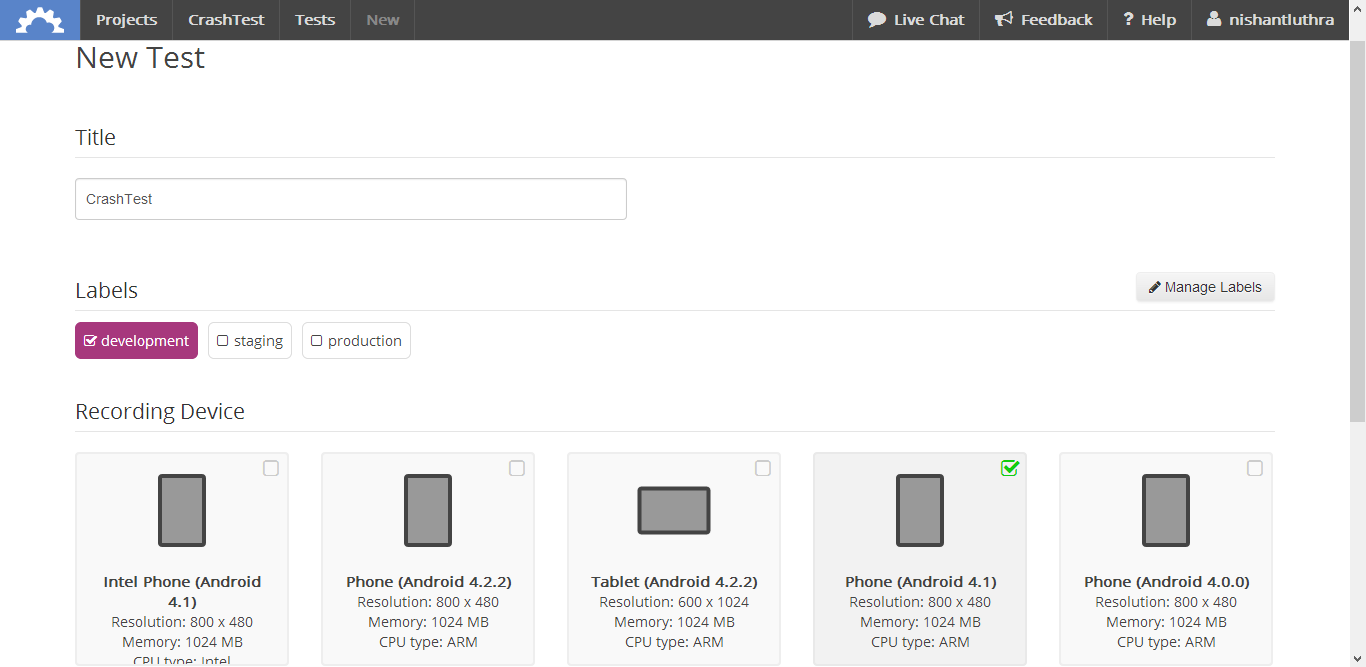
Name your test “CrashTest” and, if you like, select a label for it. Then choose a device to record your test on and click Continue.
Now Select your application to run and test.
![]()
You will then see the TestObject Recorder. The device that had been selected before will now be booted and your app will be installed on it.
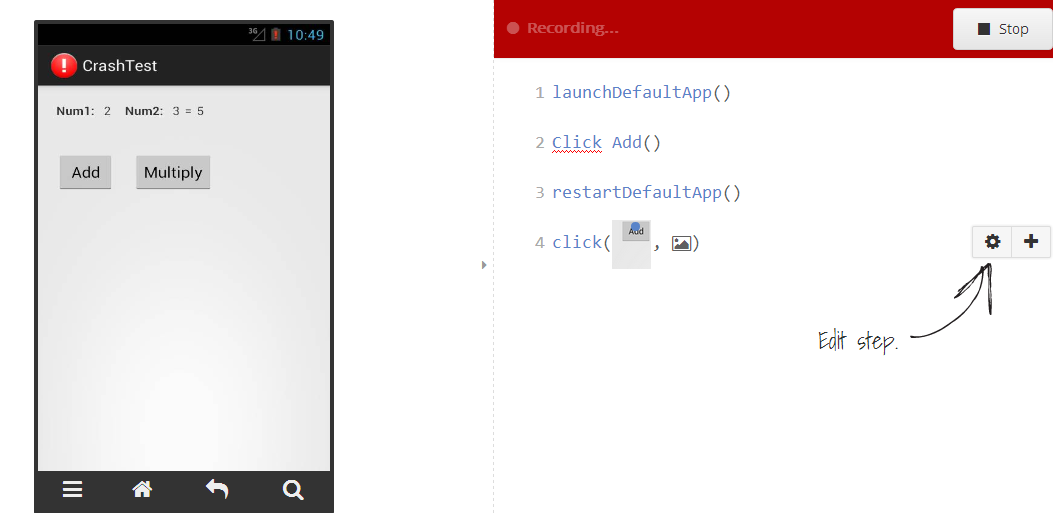
As soon as your app has launched, you are ready to start recording. To do so click the Record button. Each action you execute on the device will now be added as a line in the script on the right side.

On the device screen click the ‘Continue’ button of the sample app and notice that for the click action a new script line is generated.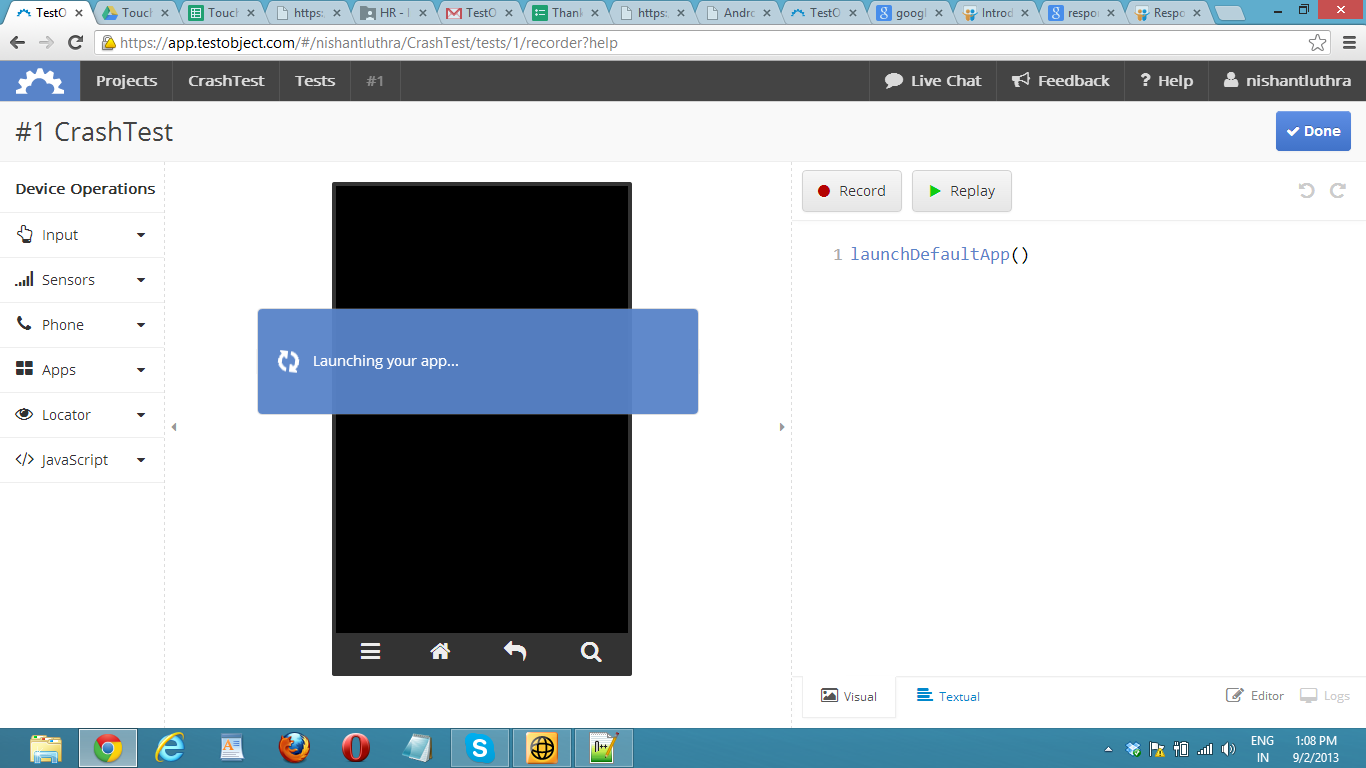
TestObject – Features
1. Record , Stop Record and Replay – Start the recording by hitting Start and Leave the recording mode by hitting Stop. You can now replay your test. To do so press the Play button. You will then get a fresh device so that the replay starts in a clean state. The editor, the device and the operations bar are locked during the replay. You can now follow the execution of your test.
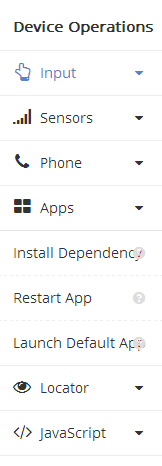
2. Device Operation (Random Input)– This dialog allows you to add a Random Input step to the test script. When this step is executed it sends random touch and key events to your application, or to the browser if are testing a website. As soon as an error is detected the step will fail. The following parameters can be used to configure the step:
Event Count: The number of events that will be sent.
Delay: The delay time between two events in milliseconds.
Random Seed: An integer number representing a certain sequence of events. For the same seed the Random Input step will trigger the same sequence of events.
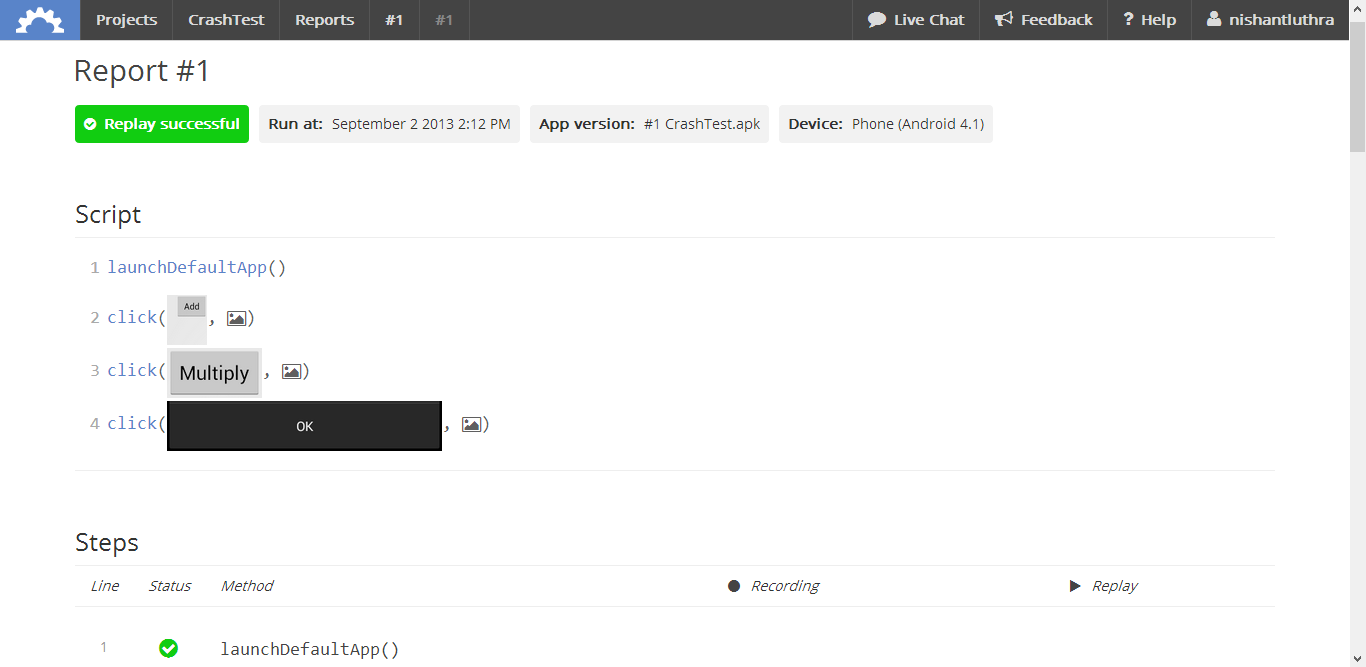
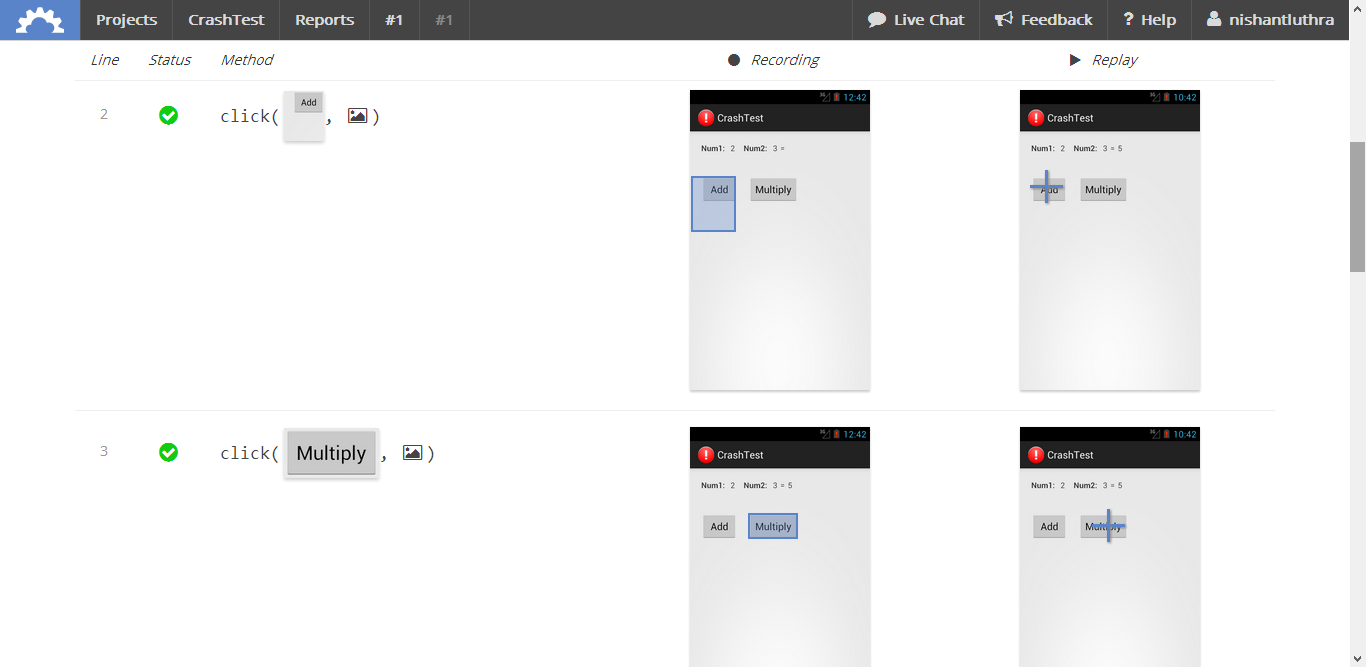
As soon as the replay has finished, the result is shown at the top. It includes a link to the detailed report about this replay.

3. Detailed Report – In the report, all steps executed during replay are listed. For each step two screenshots are shown. The first screenshot had been taken during the recording and the second when the step was replayed. This allows you to easily compare how your app’s behavior has changed, for example, when running the test on a different Android version or on a newer version of your app.
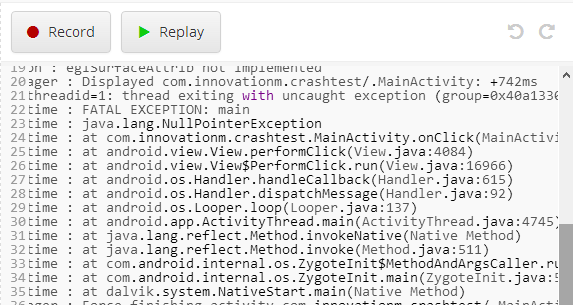
4. View Log Report – Easy to find Exception through log file.