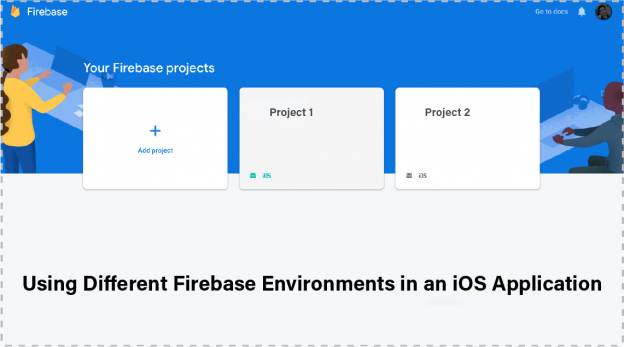
A common scenario in application development is to have different environments, such as Debug, QA, Production… can be resolve via Multiple Firebase Environments.
Requirement of having Multiple Firebase Environments :
While your app is in development mode, or while it is being tested by the QA department, some “data pollution” could reach Firebase servers.
Imagine your application is going to use Firebase Analytics and Firebase Realtime Database. The QA has received your build and is going to try it. They will navigate through the app, make taps on buttons, insert data on the database… You are sending “fake information” to Firebase, and you don’t want to mix this pollution data with the production database.
In other words, you could be mixing events from your testers which you only want for testing purposes, with end-users information which you do want for the correct behavior of your application. The solution consists of having different environments in your application, so that information from each one gets isolated and is not mixed with the others.
Setting up Firebase environments in XCode
- In the Firebase console, create two separate projects (not applications): one will be for debug environment and the other for the release one. Name them appropriately so that you don’t confuse them.

- Create an iOS app for each project. Be careful to enter the bundle id you assigned to each project in xcode.
- Download the GoogleService-Info.plist generated by Firebase for each project. By now, save them in different locations on your hard drive.

- In xcode project navigator, create a new group and name it “Firebase”.

- Inside “Firebase” directory, create two child directories named “Debug” and “Release”
- In the project navigator, right-click on the new “Debug” folder and select “Add Files to…”.

- You will come up with a new window. Navigate to the location of your debug plist file and select it. Make sure to uncheck “Add to targets” options and that “Copy items if needed” and “Create groups” are checked.

- Repeat the last step for the release plist file, adding it to “Release” folder. So far, your project navigator should look like this:
 If you accidentally did not uncheck the “Add to targets” option, click on the plist file and uncheck the “Target Membership” option, located on the file inspector, at the right side of xcode. You may be asking why we have to uncheck this option. The reason is that, at compile-time, we will tell Xcode which of the two files it must copy to the final app bundle. If both files were checked to be in the app bundle, an error will raise because they are named the same.
 - In the project navigator, select the app target, switch to the “Build phases” tab, click the plus sign at the top and select New Run Script Phase.

- Name the phase “Setup Firebase plist files” and add it below the “Link Binary with Libraries” step.

- Create a new shell script that will copy the appropriate list file to the app bundle based on the current build configuration selected. Copy and paste the following code into the run script phase you just created:
# Name of the resource to copy INFO_PLIST_FILE=GoogleService-Info.plist # Get references to debug and release versions of the plist file DEBUG_INFO_PLIST_FILE=${PROJECT_DIR}/${TARGET_NAME}/Firebase/Debug/${INFO_PLIST_FILE} RELEASE_INFO_PLIST_FILE=${PROJECT_DIR}/${TARGET_NAME}/Firebase/Release/${INFO_PLIST_FILE} # Make sure the debug version exists echo "Looking for ${INFO_PLIST_FILE} in ${DEBUG_INFO_PLIST_FILE}" if [ ! -f $DEBUG_INFO_PLIST_FILE ] ; then echo "File GoogleService-Info.plist (debug) not found." exit 1 fi # Make sure the release version exists echo "Looking for ${INFO_PLIST_FILE} in ${RELEASE_INFO_PLIST_FILE}" if [ ! -f $RELEASE_INFO_PLIST_FILE ] ; then echo "File GoogleService-Info.plist (release) not found." exit 1 fi # Get a reference to the destination location for the plist file PLIST_DESTINATION=${BUILT_PRODUCTS_DIR}/${PRODUCT_NAME}.app echo "Copying ${INFO_PLIST_FILE} to final destination: ${PLIST_DESTINATION}" # Copy the appropiate file to app bundle if [ "${CONFIGURATION}" == "Debug" ] ; then echo "File ${DEBUG_INFO_PLIST_FILE} copied" cp "${DEBUG_INFO_PLIST_FILE}" "${PLIST_DESTINATION}" else echo "File ${RELEASE_INFO_PLIST_FILE} copied" cp "${RELEASE_INFO_PLIST_FILE}" "${PLIST_DESTINATION}" fi - Select the “Debug” build scheme and build your app by pressing Cmd+B and ensure the build process completes successfully without any errors. After that, right-click on the .app file under the “Products” section of Xcode project navigator and select “Show in Finder”.
- Change the build scheme to release and build your app again. Do the same as before and inside the .app file make sure GoogleService-Info.plist file is there.
You can also read our Blogs on Firebase:
1- Firebase Crashlytics Integration In iOS Swift (dSYM File Required Problem Resolved).
2- Firebase Authentication in iOS
Conclusion:
You now are able to use different Firebase projects for your application environments, so that data generated by each version does not get mixed with the others.
InnovationM is a globally renowned Mobile application development company in India that caters to a strong & secure Android app development, iOS app development, hybrid app development services. Our commitment & engagement towards our target gives us brighter in the world of technology and has led us to establish success stories consecutively which makes us the best iOS application development company in India.
Thanks for giving your valuable time. Keep reading and keep learning.
 End to End Technology Solutions
