API testing
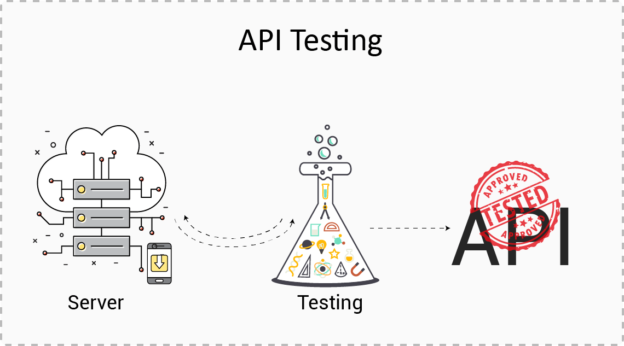
API is an acronym for Application Programming Interface. It enables communication and data exchange between two separate software systems. A software system implementing an API contains functions/sub-routines which can be executed by another software system.For example, a Google website can have API for various functions like search, translations, calendars, etc
API Architecture
API calls Collection include mainly three things:
1. HTTP headers
2. HTTP Request (POST,GET,PUT,DELETE )
3. Status Code/ Response Code
Apart from this your application collection include many things if it required to test in your application.
HTTP headers – HTTP headers are always depended on your application.It can be either standard or custom headers:
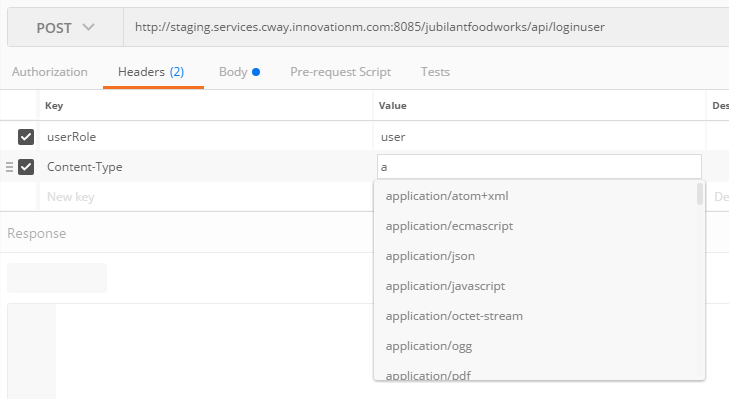
Content-Type – A standard MIME type describes the format of object data we are sending along in the request to the server .Content –type in most of the requests and responses will be application/json. Refer to image 1.

image 1.
Multipart/form-data – when your form includes any <input type=”file”> elements.
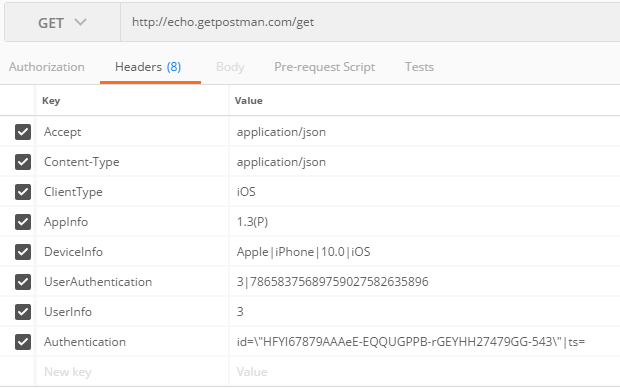
Authorization – A token included with requests to identify the requester. This header has to be included in all requests other than the login request.(Custom Header). Refer to image 2
User Authorisation while requesting data from API is very important for security reasons .
Eg. A there are some features in the application which are accessible only to admin and some are accessible only to the user . A user tries to access features which are only accessible to the admin , an error 401 – unauthorised person to be shown to the user .To achieve this for every user a unique token is generated during login and that unique token is to be used by the user while requesting data from the APIs.

image 2.
The Hypertext Transfer Protocol (HTTP) is designed to enable communications between clients and servers.
HTTP works as a request-response protocol between a client and server.
A web browser may be the client, and an application on a computer that hosts a web site may be the server.
HTTP Request – There are mainly four request, which we used frequently: DATA =
POST – Create Or Update data
PUT – Update data
GET – Retrieve data
DELETE – Delete data
Two commonly used methods for a request-response between a client and server are: GET and POST.
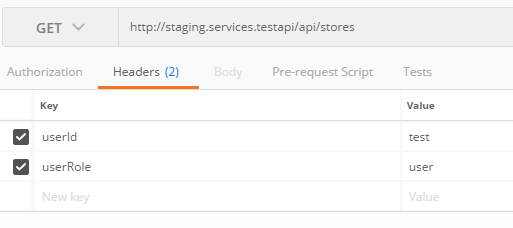
GET – Requests data from a specified resource.No body is sent along the request.Refer image 3

image 3.
POST – Submits data to be processed to a specified resource.In this the body is sent along the request to the server.Refer image 4

image 4.
By design, the POST request method requests that a web server accept the data enclosed in the body of the request message, most likely for storing it. It is often used when uploading a file or when submitting a completed web form. In contrast, the HTTP GET request method retrieves information from the server.
Validating the results
Mainly, for API testing, we need to check response code, a response message, and response body.
Below are the various response code, one might encounter while API testing.
Status Code/Response Code – There are many status/response code, from them we can verify the response.
200 – OK, The request was successful.
201 – Created, The request was successful and data was created.
204 – No Content, The response is empty.
400 – Bad Request, The request could not be understood or was missing required parameters.
401 – Unauthorized, Authentication failed or user does not have permissions for the requested operation.
403 – Forbidden, Access denied.
404 – Not Found, Data was not found.
405 – Method Not Allowed, Requested method is not supported for the specified resource.
500 – Internal Server Error.
503 – Service Unavailable, The service is temporary unavailable.

Challenges for API Testing
The interesting problems for testers are:
- Creating interesting parameter value combinations for calls with two or more parameters
- Identifying the content under which the API calls has to be made. Which might include setting external environment conditions ( peripheral devices, files, etc.) as well as internally stored data that affects the API
- Sequencing API calls as per the order in which the functionality will be executed
- To make the API produce useful results from successive calls.
Step 1): Launch the extension once it is installed successfully.

Step 2): Enter the URL of the API in the URL textbox

Step 3): Select the radio button for the type of HTTP method to hit- e.g. POST

Step 4) : Provide Headers (if required), in the Headers textbox.
Sometimes we need to give headers like
Content-Type: application/json
X-User-Type: standard

Step 5): Under Payload, pass the request body of the API in the form of key-value pairs e.g. {{“key1″:”value1″,”key2″:”value2”}. If it is post API, then we need to pass body or parameters.

Step 6): Set the required content type e.g. application/json
Step 7): Hit the send button. After clicking on “send” button, you will see response something like this.

 End to End Technology Solutions
